Wednesday, June 30, 2010

printshops

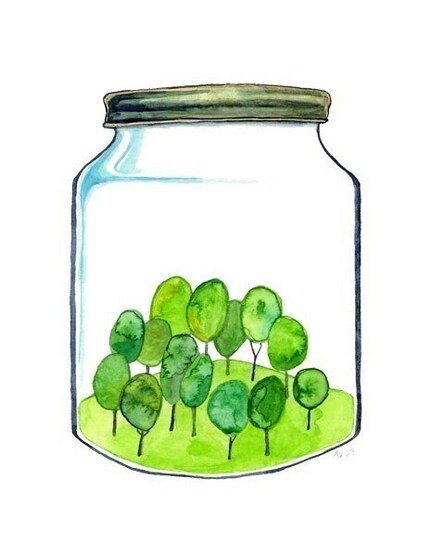
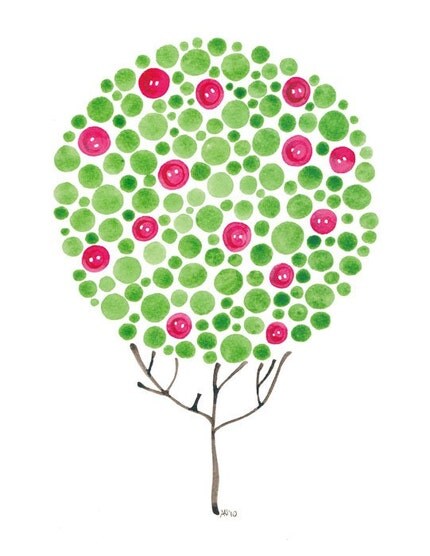
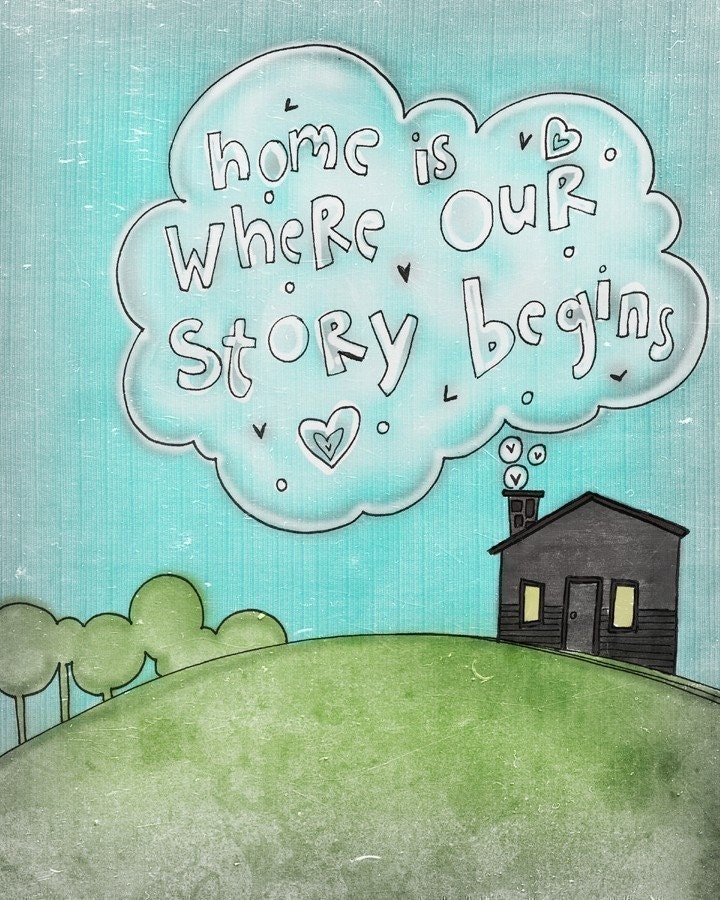
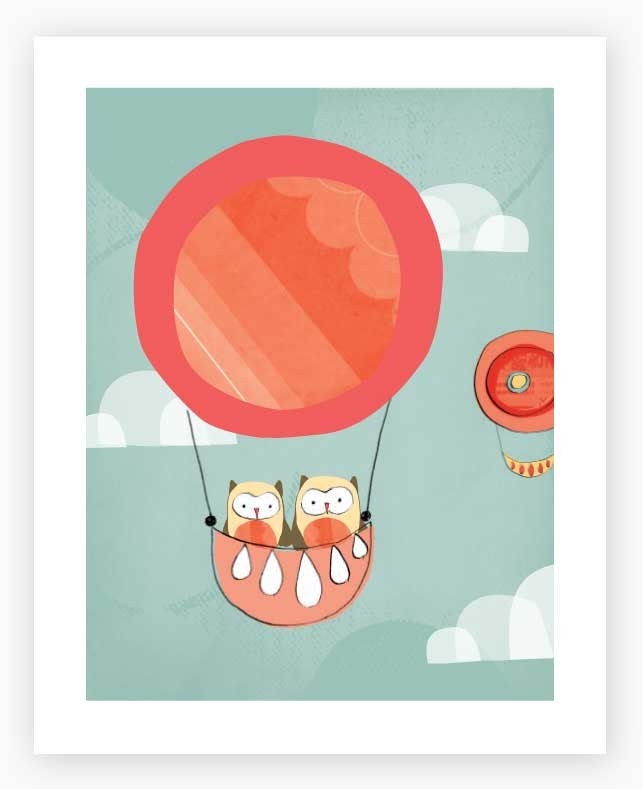
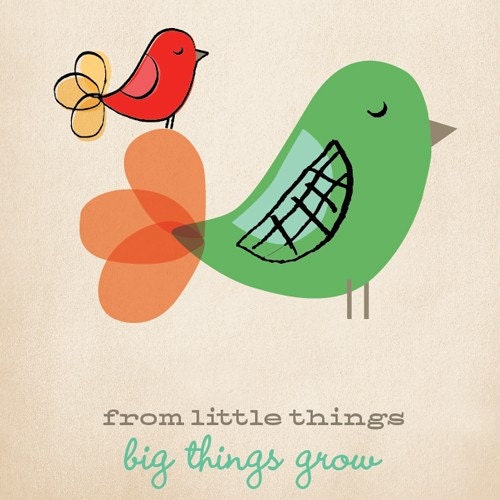
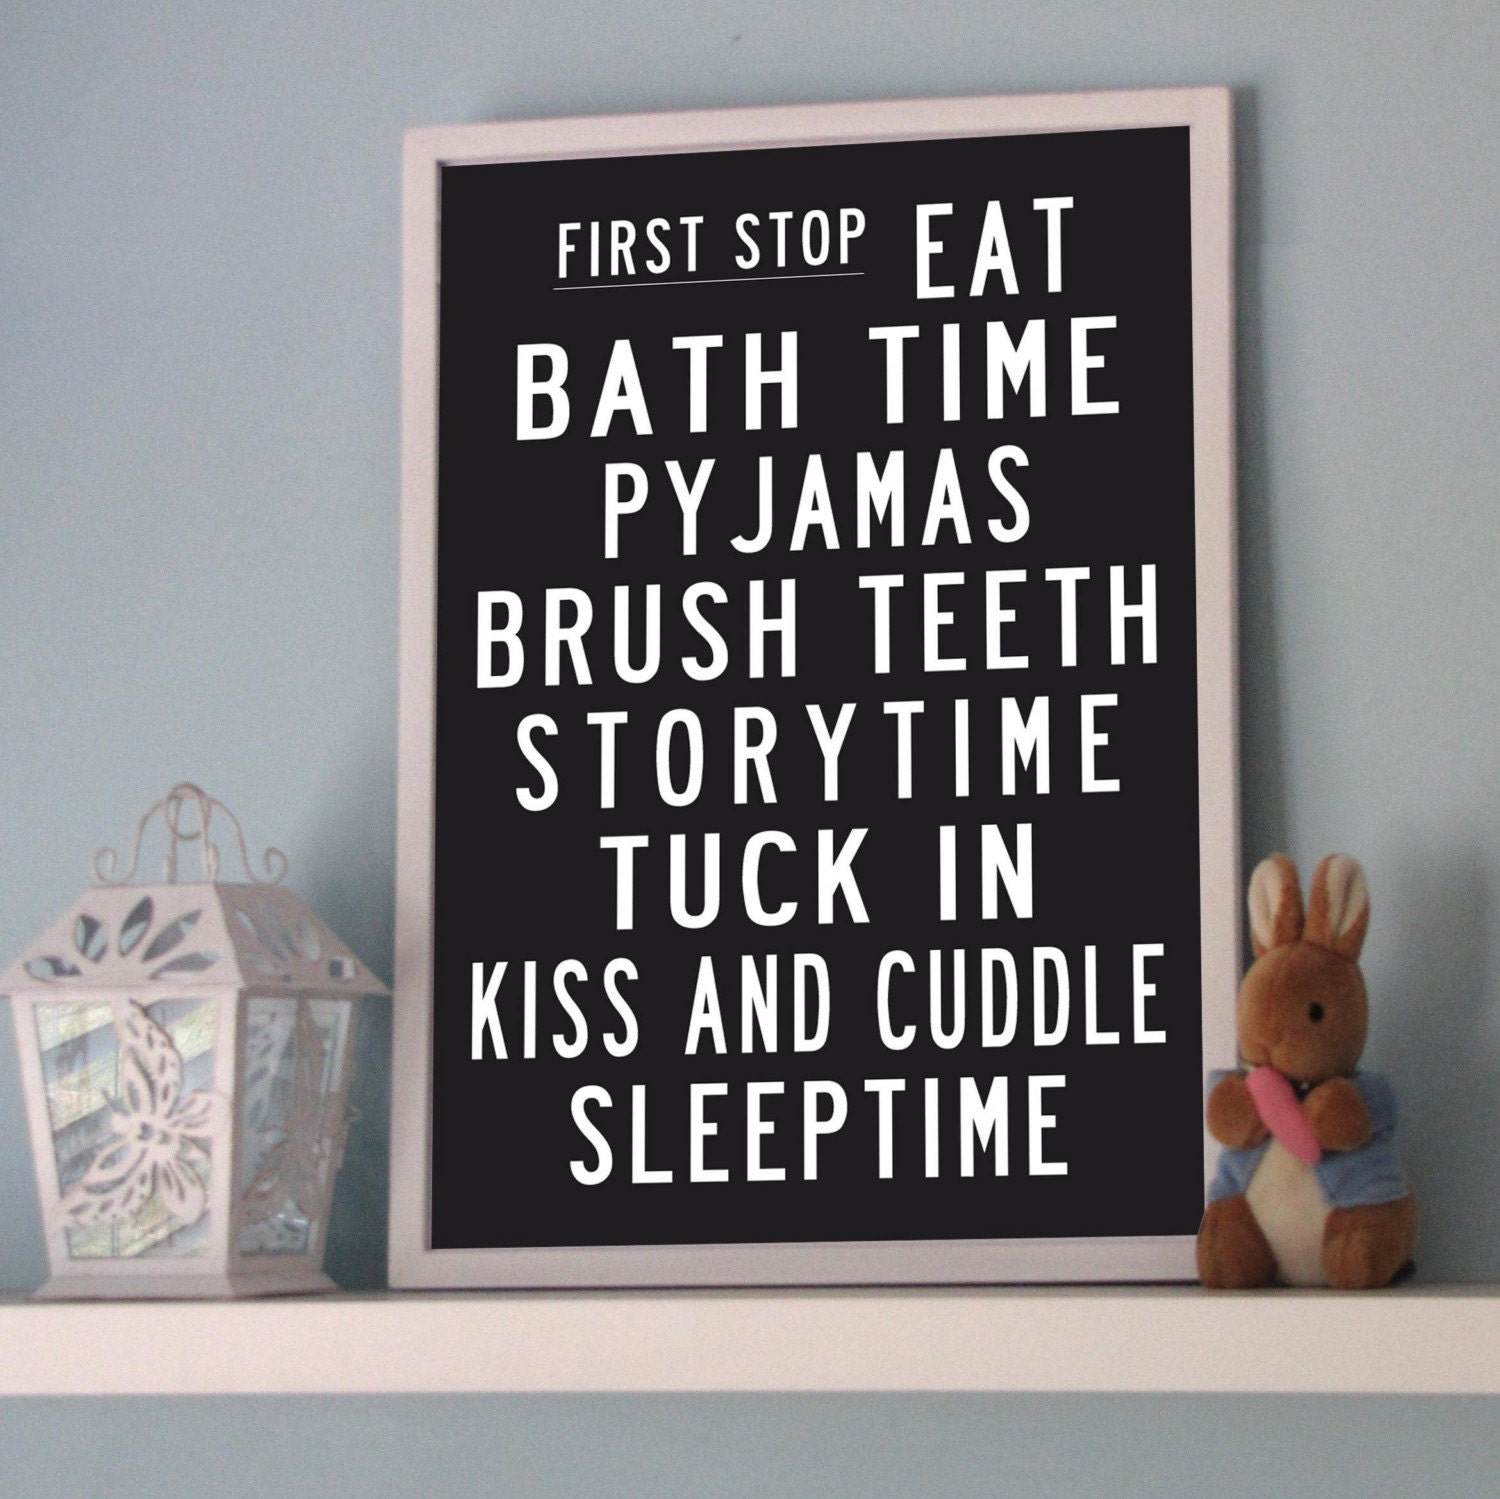
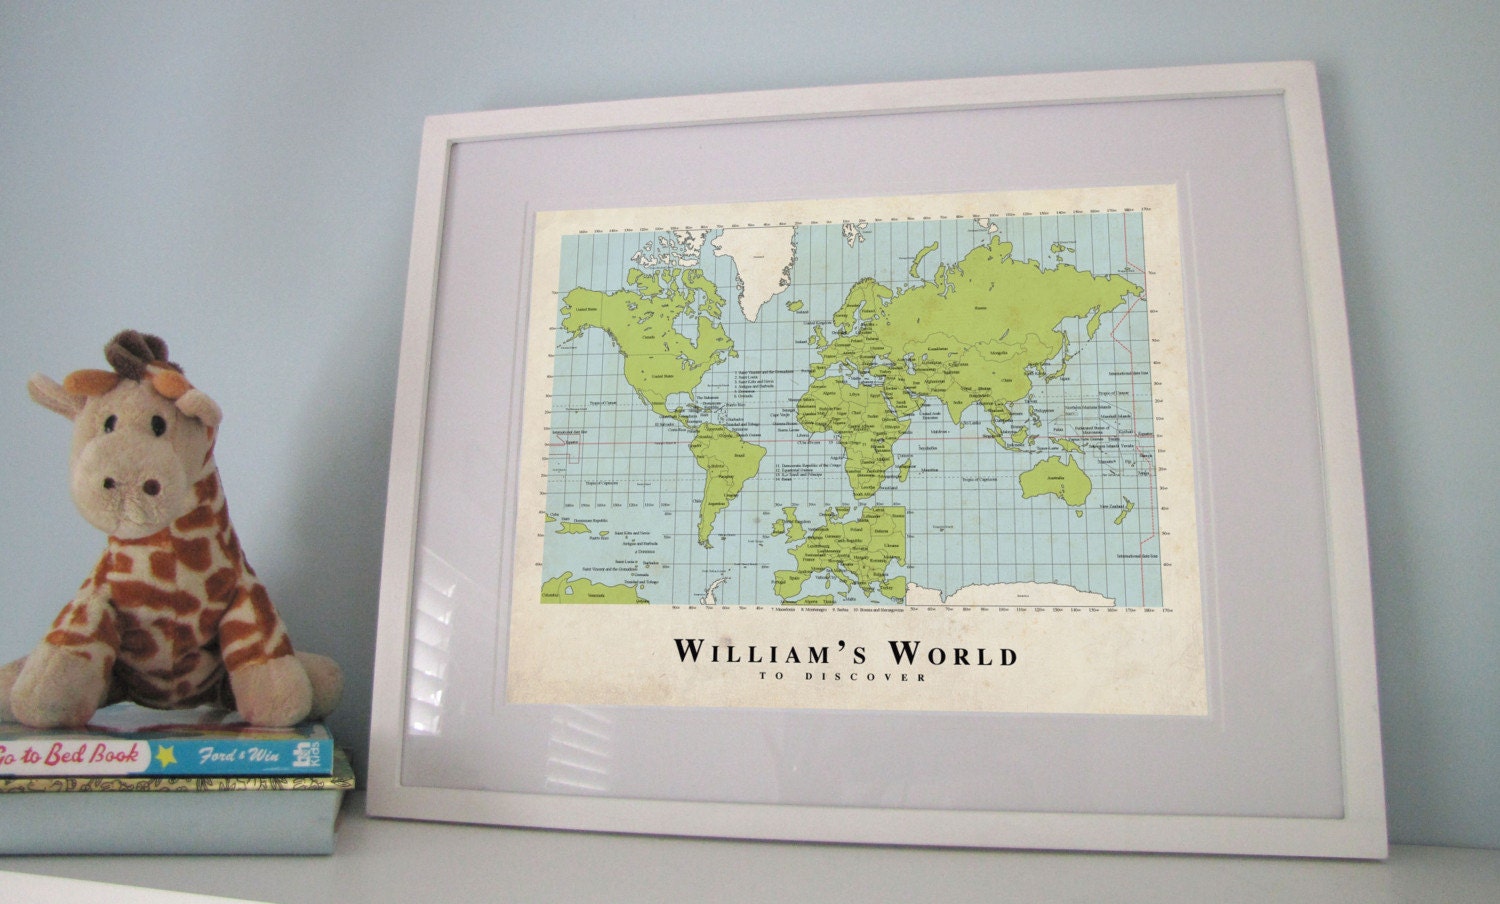
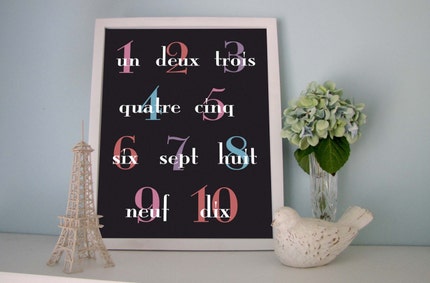
I wanted to take a moment to share with you a few Etsy print shops that I'm fond of for prints for kid's rooms, living rooms, and bedrooms.  I love their unique flair and whimsy.  I definitely have my eye on a few key pieces for our upcoming master bedroom completion project, the "big-boy" room, and random places around our home. 


I love these original watercolors.  Her designs are unique and happy, which makes them perfect for part of your wall collection. 


The wonderful original prints in this shop make me happy.  I love the whimsical designs and thoughtful words. 


I just love these little prints.  They make me think of my kiddo, cute and sweet. 


i and my Anabel Lee.
How can you resist these prints that inspire your inner teenage passion?


The name says it all.  These prints are sweet and perfect for any nursery.

Friday, June 25, 2010

Recycled T-Shirt Yarn Tutorial (Step-by-Step version)


 Hello.  Earlier this week I shared this post with you from my Great Day St. Louis appearance on making t-shirt yarn.  Just in case it's not clear from the video and/or you don't feel like watching it, I'm posting a step-by-step here so you can get started cutting up all your old t-shirts.  

Step 1: Find an old t-shirt and cut off the bottom hem.  
Step 2.  Cut the bottom panel of the t-shirt off at the arm-pit.  You can use scissors or a rotary cutter.  I prefer a rotary cutter as I'm completely disabled when it comes to using scissors well.


Step 3: Fold the panel in half leaving a 1' space wear the top meets the bottom half.  


Step 4: Cut the panel into strips.  Cut through the top half completely, but DO NOT cut through the bottom half.  Leave the 1' space UNCUT.


Step 5: This is the tricky part in which you will make diagonal cuts along the uncut space. Open up your panel.  Place it on a surface such as your arm, chair base, small table.  Cut diagonally across each strip.  The first strip will look a little strange, but when you're finished you will simply make one diagonal cut in order to separate the two rings and create one continuous strip.  Don't worry you will not see these diagonal cuts at all in the finished product.


Step 6: Turn the strip into rolled yarn simply by pulling on each piece of the strip.  Basically, put a piece of your long strip in each hand and pull.  Do this across the entire strip and you will turn this...


into this in a matter of seconds.


 Finished ball of wonderful t-shirt yarn...


If you want to see some of the necklaces that I make with this yarn, you can watch this video or click on t-shirt necklace tutorial in right sidebar.

Hope you enjoyed this tutorial and have a wonderful weekend!

I'm linking to Feature Yourself Friday at Fingerprints on the Fridge.

Thursday, June 24, 2010

SmileBooks Discount Code

Remember this post from last week?  Graciously, SmileBooks is sharing the WELCOME10 discount code with my readers.  

This coupon code has a value of $26.95, which covers the complete cost of an 8"x8" soft cover SmileBook with 26 pages.  However, you can also use this coupon for any other book of higher value and simply pay the difference.  The coupon is valid through 12/31/2010 and it can be used once per user.  

One of the best features about this program is that you can create your book from pictures on your computer; there is no "upload" requirement.  This feature allows you to decide the pictures that work best as you go rather than selecting the photos you want to choose from first.  

Click here to create some memories with SmileBooks.

online magazines

Over the past several years, we've seen many print favorites cease to exist (like Domino, Gourmet, Blueprint, to name a few favorites).  While I love the feeling of a new magazine in my hands and the fun of bookmarking favorites and even making the occasional inspiration collage, the cropping up of online magazines has been equally exciting.  These magazines are just as inspirational, but a whole lot greener. 

Here are a few for you to check out, if you haven't already. 

1. Lonny Magazine: An excellent and inspirational interior design magazine.  I can't get enough of all the wonderful ideas, colorful presentations and artful photography in the magazine.  I anxiously await each new issue.  

2. Laura Day Making Rooms for Living: This online mag is produced by the interior designer, Laura Day, and show cases great design combined with real life living.  There are many things I love about this magazine, but I love how she incorporates items for the kiddos in this third issue.  


3.LMNOP: Looking for a wonderfully well-designed children's mag.  Then check out this Australian-based online read.  You'll love it. 


4. Small Magazine: Another great child-inspired magazine that shares wonderfully unique items for your lovely kiddos.


These are my favorites.  If they are new to you, take a moment to look at all the beautiful pictures and get inspired!
Any online magazines that you love to peruse?  Please do share. 

Monday, June 21, 2010

Recycled T-Shirt Yarn Tutorial on Great Day St. Louis


This morning I had the pleasure of showing St. Louis how to make recycled t-shirt yarn as well as the opportunity to showcase some of the necklaces that I make with it.  You've seen some of those necklaces (here and here) and you've also seen my affinity for recycled t-shirt yarn from Eclectic Notions (here).  
If you have some old t-shirts lying around, grab some scissors and make some yarn! You'll be addicted to this stuff! It's great for jewelry, potholders, coasters, bathmats, dishcloths, place mats, etc.

This week I will post a step-by-step tutorial as well as some photos of my latest t-shirt yarn necklaces with twisted fabric rosettes.  If you can't wait until then, check out this video!

Parties I'm Linking To Today: 
Get Your Craft On at Today's Creative Blog 

Thursday, June 17, 2010

Placemat Pillows

If you are looking for a quick and easy update to your pillow decor, look no further than the placemat section of your local Target, Pier 1, or Home Goods. 

Find a double-layer placement, pick up some poly-fil from your local sewing/craft store, go home and make some pillows.  

I've seen numerous bloggers share this simple, creative idea; so, I had to try it myself.  Find this idea here, here and here. Go ahead, try it.

Here are my recent additions to my pillow addiction via Target's placemat aisle. 

 (in the basement with other pillows I've made from remnants)


(in the living room and entryway)

Making these pillows only requires a seam ripper, needle, thread, stuffing, and placemat.  Simply rip open a small section of seam, stuff with poly-fil (be sure to push into the corners), and stitch the seam closed using a color-matched thread.  This idea is even for the NON-SEWERS because the stitches are barely seen. 

Window Treatments

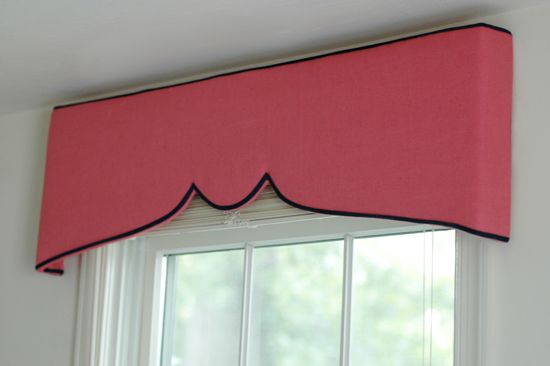
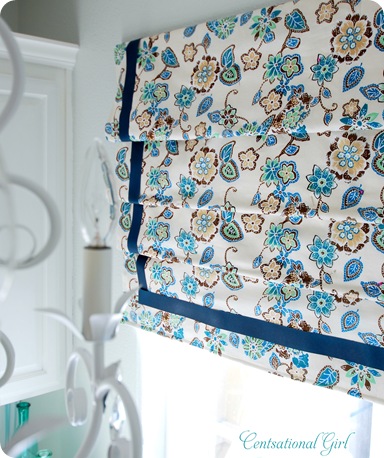
Since making these window treatments for my entryway, I've been inspired to make more window treatments throughout my house.  Specifically, my bedroom and bathroom; since, those two rooms have been the most overlooked in our home since we moved in.  Here are few DIY tutorials that I like:

Easy Pelmet Boxes from Little Green Notebook

No Sew Swag Valance from Centsational Girl

Roller Blinds from Design*Sponge

Fixed Flat Roman Shade from Centsational Girl

We'll see what we actually decide on! Any other good DIY suggestions for window treatments? If so, please do share. 

Monday, June 14, 2010

smilebooks

Yes, that's me and the hubby. 

We were married on June 24, 2006 and I just recently purchased the rights to our wedding photos.  The reason why I waited four years to purchase these photos and create a wedding album is...well, there is no good reason.  

To be honest, I wasn't very pleased with the quality of the photography.  It was expensive.  We requested a "photo journalistic" package, but ended up with mostly trite, posed photos.  Although, after another look, there were definitely plenty of nice pics for us to create a lasting memory.  

To create my memory album, I'm using Smile Books.  There website allows you to create custom photo books that are high quality at a fraction of the price that many photographers will charge.  I highly encourage you to check them out; they may seem a bit more expensive than other online photo book makers, but the quality and customization is much greater.

Here's their breakdown: 

Create Custom Photo Albums

  • Seven great photo book sizes
  • Hard or soft covered photo books available
  • Each custom photo book is professionally bound
Turn your favorite photographs into custom photo books and preserve your most precious memories forever. SmileBooks makes it easy to create individualized custom photo albums using your own digital photos and computer images.

Hard covered, soft covered, faux leather, satin finish, extra large, small….you choose. No matter what custom photo book you create, it's sure to be a book of smiles! SmileBooks software is easy to download. And just as easy to use. You won't believe how simple it is to design professionally bound, custom photo books with page after beautiful page of your favorite photographs, using one of our formats, or one you design yourself. Create individual custom photo albums for each special occasion and treasured moment you want to preserve forever. With so many different colors, sizes and styles to choose from, no two custom photo books will ever be the same.

Download your free photo books software and in as few as three steps you can create digital photo albums sure to make you smile. SmileBooks delivers your completed photo album in six to ten days at a price and quality you never dreamed possible. Start today. 

When my new wedding album arrives, I will definitely share with you the memories and the Smile Book.


*Now if I could just do something with all these pics of the kiddo.*
Related Posts with Thumbnails